

This article is part of a series of posts with tips and tricks from our producers’ experience working with Adobe Premiere Pro CC after years of working in Final Cut Pro. To read more about why we made the switch, check out this post.
Sharing sequences between team members is easy with the latest version of Premiere Pro CC.
As often happens during our workshops, a participant will cut a sequence using her laptop. We’ll then need to import that work into the main project on a second computer.
Here’s how we do it:
In the Media Browser window (Shift–8), navigate to the project file that contains the sequence you’d like to import.
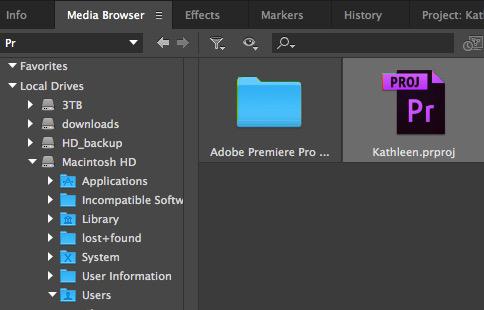
Double-click the file and you’ll see all of the sequences and media available in that project.
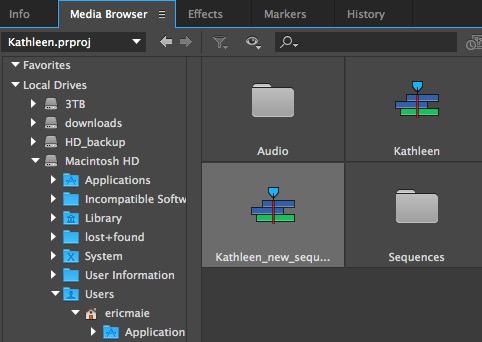
To import, simply drag the relevant sequence from the Media Browser to the Project window.
A couple of caveats: first, make sure that all media resides of your primary hard drives.
If you’ve connected a transfer drive in the process of importing your sequence, eject it and make sure your assets point to the right directory. You can do this by right-clicking on a file and selecting Reveal in Finder…
If for some reason, the assets on your sequence are not connect to the proper files, you’ll need to select them all (Command-A) then right-click a file and choose Make Offline…
Finally, reconnect by repeating the steps above but this time choosing Link Media… and then navigating to the correct location