This article is part of a series of posts with tips and tricks from our producers’ experience working with Adobe Premiere Pro CC after years of working in Final Cut Pro. To read more about why we made the switch, check out this post.
Premiere Pro 2014 offers a great new feature for correcting the lens distortion of GoPro cameras.
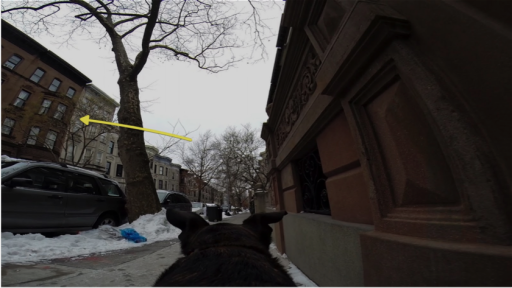
Last winter, I strapped a GoPro onto my dog, Emmy, and went for a walk. You can clearly see the fisheye distortion in the screenshot below. In particular, notice the curvature of the building on the left.

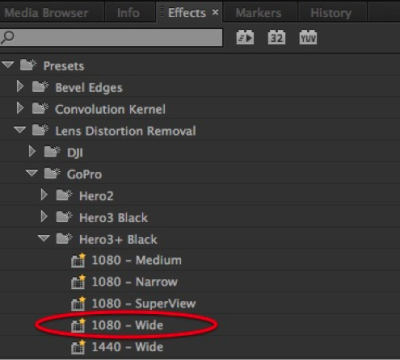
In Premiere Pro’s Effects pane, twirl down Presets > Lens Distortion Removal > GoPro and find your camera model as well as the setting used when your footage was shot.
In my case, I used the Hero3+ model at 1080 pixels, using the wide perspective.

Next, with your footage on a timeline, simply drag the corresponding effect onto the clip.
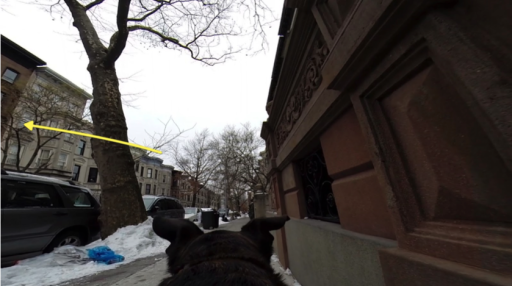
Lens Distortion Removal will compensate for the curvature of your image.

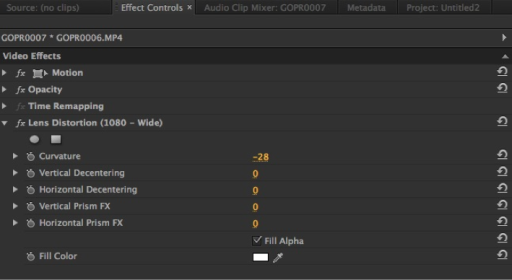
To finesse further, see the advanced setting in the Effect Controls window.


