

This article is part of a series of posts with tips and tricks from our producers’ experience working with Adobe Premiere Pro CC after years of working in Final Cut Pro. To read more about why we made the switch, check out this post.
A reader who is new to Premiere Pro writes, “OK, I cry uncle. I can’t for the life of me come up with an efficient way to use the keyboard to select the end or beginning of a clip. How do you do it? Do you use the mouse?”
Turns out that selecting edit points with just the keyboard is simple. Just press the T key and Premiere Pro will select the edit points closest to your playhead.
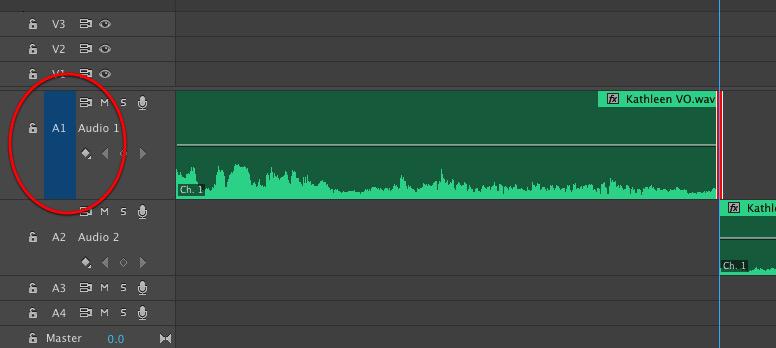
Here’s the trick though: Premiere Pro will only select the tracks that are highlighted in the left column.
In the example below, pressing T selects only the edit point for A1, as it’s the only track selected.
To select a track without using the mouse, you’ll need to assign it a keystroke.
From the Premiere Pro menu select Keyboard Shortcuts… (Option-Command-K).
Then, search for Toggle.
You can then assign shortcuts to your audio and video tracks 1 – 8.
Once an edit point is selected, you can easily shuffle through Premiere’s various editing modes, press:
- B for Ripple Edit Tool
- N for Rolling Edit Tool
- R for Rate Stretch Tool
- Y for Slip Tool
- U for Slide Tool
Have a Premiere Pro question? E-mail our producers at PremierePro@mediastorm.com. Keep an eye on the blog to see if your question is selected for a MediaStorm tutorial.