This article is part of a series of posts with tips and tricks from our producers’ experience working with Adobe Premiere Pro CC after years of working in Final Cut Pro. To read more about why we made the switch, check out this post.
The new free release of the Mac operating system, Yosemite (10.10) offers an easy way to automate file renaming straight from the Finder.
Previously, you needed to write an Automator script or purchase an additional application.
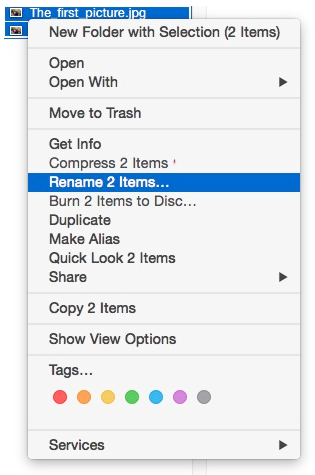
To begin, simply right-click the Finder files you’d like to rename and then select Rename [x] Items… from the contextual menu. X represents the number of files you have selected.

You’ll be presented with a pulldown sheet that offers a number of renaming options including:
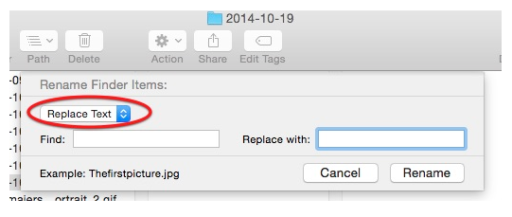
- Find and replace text:

- Add text before or after each selection:

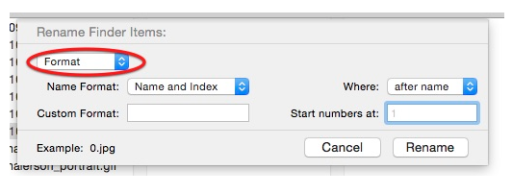
- A Format option to add the date or an index number before or after each selection

In this short tutorial, I’ll show you how to easily add underscores to your filename.
After you’ve selected your files in the Finder and selected Rename Items…, choose Replace Text from the top dropdown menu options.

In the Find: window box, press the spacebar to create a space. Note that you can’t see the space in the image above, but it’s crucial.
Then, in the Replace With: window type and underscore (“_”).
Also notice that you’ll see an example of your proposed change at the bottom of the dialogue sheet.
Finally, press the Rename button and you’re good to go. Your selected files will now have underscores rather than spaces.

