MediaStorm Guide to Enhancing Adobe Premiere Pro’s Auto-save Functionality
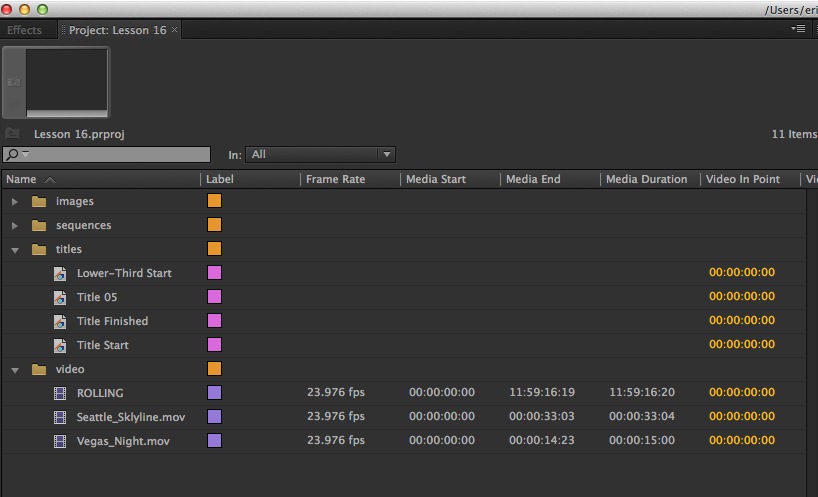
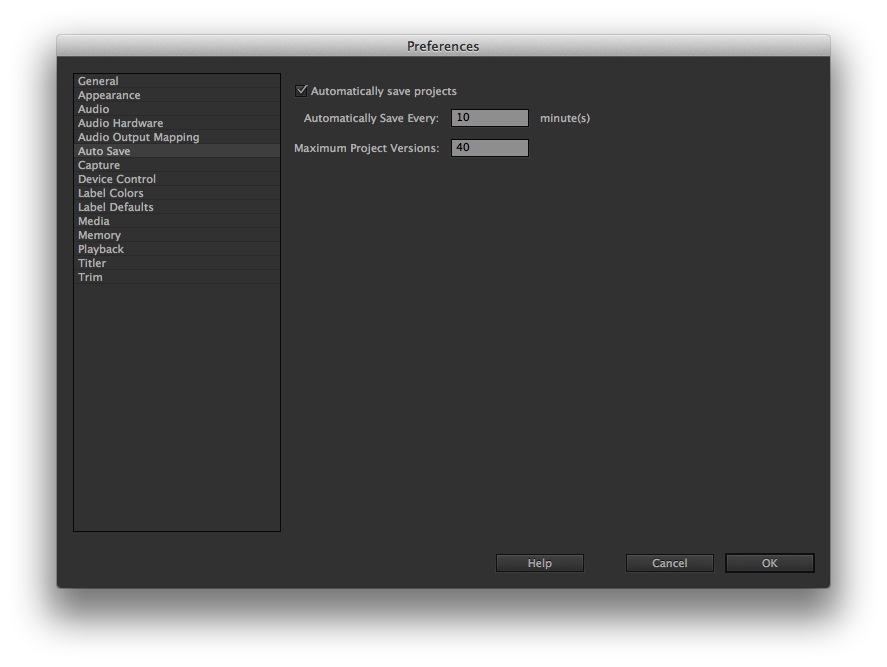
This article is part of a new series of posts with tips and tricks from our producers' experience working with Adobe Premiere Pro after years of working in Final Cut Pro. To read more about why we made the switch, check out this post. Today's post was written by MediaStorm producer Eric Maierson. Like Final Cut Pro, Premiere Pro offers an auto-save vault. The functionality is similar. Premiere incrementally saves a backup of your project at a user-specified interval. To customize this feature on your Mac choose the menu Premiere Pro > Preferences > Auto Save. There are three options in this menu: A checkbox to enable the feature, plus two options boxes. One tells Premiere how often to backup and the other designates the maximum number of versions that will be saved before the application begins to delete the oldest ones. I like to save every 10 minutes. That’s about as…