MediaStorm Post-production Workflow Now Available in Kindle Stores

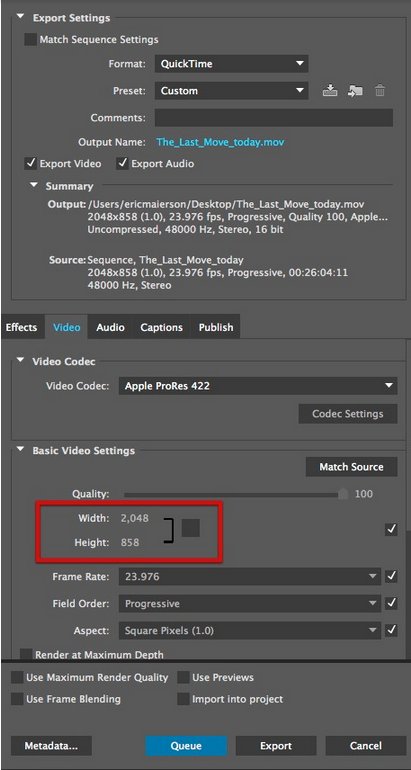
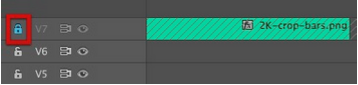
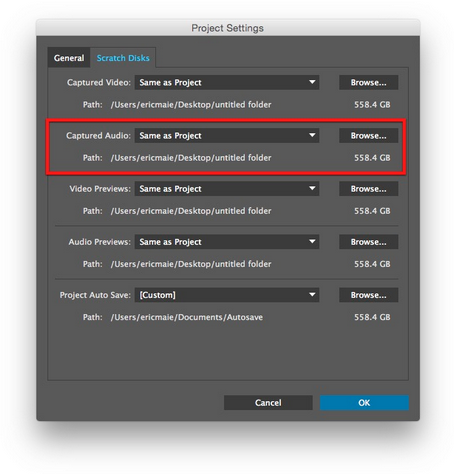
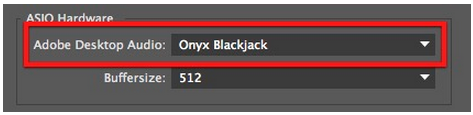
The full 200-step workflow MediaStorm uses with Final Cut 7 and Premiere Pro is now available for purchase in Kindle stores. Perfect for storytellers on the go, the mobile-friendly version of our Post-production Workflow covers our producers' step-by-step process, developed over seven years and more than 100 projects, to streamline the editing process and produce award-winning multimedia. Also included with the workflow is a 60 page guide to using Aperture, Apple’s photo editing software. The guide not only details how to use the program in conjunction with Premiere Pro CC but also offers extensive tutorials on how to enhance your images. Purchase your copy on Amazon.

Continue ReadingMediaStorm Post-production Workflow Now Available in Kindle Stores

MediaStorm Guide to Editing 2.4 Anamorphic Video

Currently at MediaStorm, we are using the Sony PMW-F5 camera. Our final frame size is 2048×858, also known as 2.40.

This more cinematic look is longer in width but shorter in height than the standard HD size of 1920×1080.

Though our final output is 2048×858, the captured frame size is actually a bit larger at 2048×1080. This allows for more wiggle room when deciding what stays in the shot. There’s more latitude as you can now position the frame up or downwards without having to up-res its size.

The MediaStorm 2.4 Editing Workflow

To begin, you’ll need to download the 2.4 crop-bars mask.

It is sized for 2048×1080, your capture size, but masks out the top and bottom so that only the final output frame size of 2048×858 is viewable.

This file should be placed on your top video track. Then lock it in place by clicking the lock icon.

Now you can reposition your video frame without inadvertently moving the mask.

(more…)

Continue ReadingMediaStorm Guide to Editing 2.4 Anamorphic Video

How to Make a Kitchen-Sink Sandwich

When you edit it's easy to become enamored with your favorite moments, maybe a bit of narration here or a visual sequence there–parts you think are really working. It's easy to do and it's natural. But the more important question is, do these sections actually work within the context of the larger piece? Sure, they're beautiful on their own but how do they affect the overall story? Do they advance it? Or are they like a beautiful roadside dinosaur attraction, striking but totally out of place next to the suburban highway? The question is, are you making a kitchen-sink sandwich? Have you fallen in love with every ingredient in your refrigerator: the mayonnaise, the bleu cheese, the horseradish, the sauerkraut? Sure, they're all fine on their own but slap them together and nothing quite makes sense anymore. So when you're structuring your movie, ask yourself this, does the section in question connect…

Continue ReadingHow to Make a Kitchen-Sink Sandwich

MediaStorm Guide to Recording Voice-Over in Premiere Pro 2014

This article is part of a series of posts with tips and tricks from our producers’ experience working with Adobe Premiere Pro CC after years of working in Final Cut Pro. To read more about why we made the switch, check out this post.


Recording voice-overs in Premiere Pro 2014 is both easy and straightforward.

First, you’ll need to connect your audio interface. From the Premiere Pro menu select Preferences > Audio Hardware.

I use the Mackie Onyx Blackjack 2×2 USB interface with a Heil Pr–40 microphone.

Therefore, from the Audio Hardware preference window, I select Onyx Blackjack. Depending on the input source, your options may vary.

Next, set the destination for recorded audio. From the File menu, select Project Settings > Scratch Disks… Change the Captured Audio destination to a folder where you’d like to store your voice-overs.

(more…)

Continue ReadingMediaStorm Guide to Recording Voice-Over in Premiere Pro 2014

Responding to Critique Sessions

Several weeks ago at our Methodology Workshop, we screened a fine cut of a film I’m wrapping up. I thought I was close to done. The group thought otherwise. I have to admit it stung to hear so much criticism so close to the end. After dusting off my ego, I wrote down some thoughts on how best to consider a critique: Following a screening, if at all possible, take time to digest feedback before returning to your edit. Lots of comments can feel like a barrage. Having an opportunity to reflect on them before jumping back in can offer clarity. What is the common denominator of all the feedback? Write it down in a single sentence. As you make revisions, ask yourself, are you addressing that issue? Pay attention to the comments that make you angry. Often that’s resistance talking. Question what you’re holding on to. The writer Neil Gaiman once wisely said,…

Continue ReadingResponding to Critique Sessions