This article is part of a new series of posts with tips and tricks from our producers’ experience working with Adobe Premiere Pro after years of working in Final Cut Pro. To read more about why we made the switch, check out this post.
Today’s post was written by MediaStorm producer Eric Maierson.
Let’s start with a picture of my dog, Emmy. This is what it looks like at full frame.

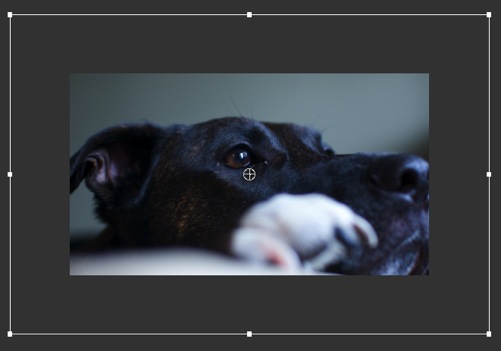
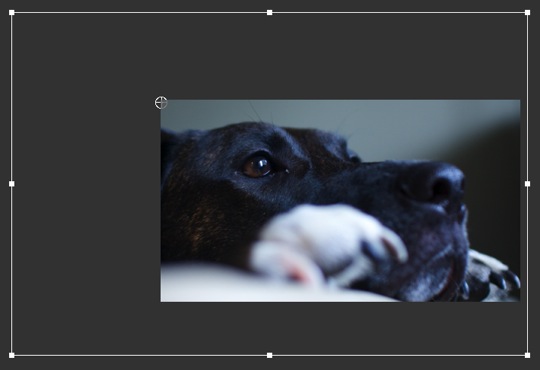
When I drag this image from Apple’s Aperture in to the Adobe Premiere Pro timeline, Premiere does not scale the image to fit the frame size of my project (1920×1080). Instead it leaves the image at its original 100 percent size, larger than the Program window.
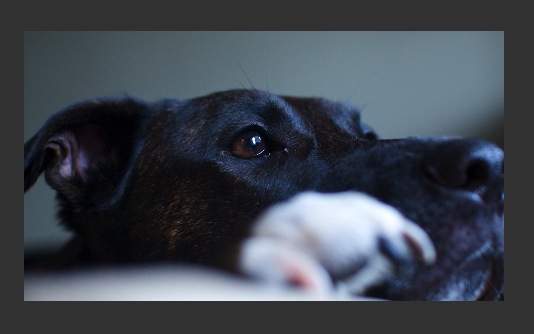
This is different than Final Cut’s behavior, which automatically scales the image vertically to fit the Canvas size.
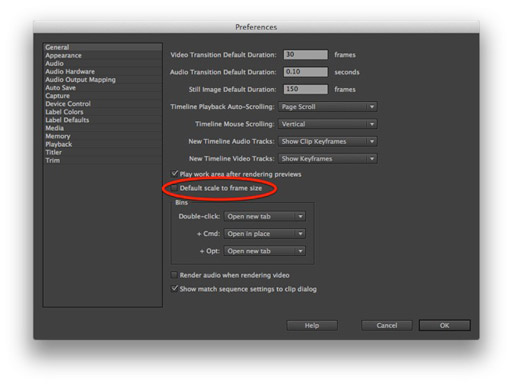
Note that in the Premiere Pro > Preferences > General menu there is an option to change this.
If you check Default scale to frame size Premiere Pro will bring in images that are vertically resized to fit the Program window.
While selecting this parameter solves one problem, it creates another: Premiere Pro scales the image to 100 percent. That means that if you want to increase the size of your image to remove edges, you do so at the expense of pixelation.
Unfortunately, in almost all cases you should leave Default scale to frame size unchecked.
To scale your image in Premiere Pro, there are several alternate options. Here are four.
Scale Numerically
Double-click your image in the timeline.
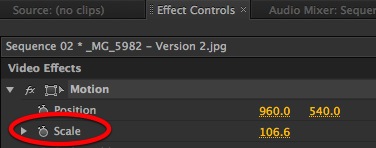
In the Effects Controls window, open Motion control.
There you’ll see the Scale parameter.
You can either click to enter a new number or hover your cursor over the existing one—your cursor will change to a hand—and then scrub right or left. The scale value will change accordingly.
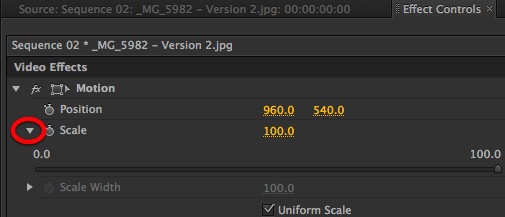
You’ll also notice a disclosure triangle to the right of the Scale property. If you open it, you’ll see a slider that works similarly to the scrubbing method above.
If you want to scale just vertically or horizontally, uncheck the uniform scale button. The Scale slider will change to Scale Height and you’ll also have access to a new Scale Width slider.
Scale by Dragging
In the timeline, place your playhead over the clip you’d like to scale. Then, double-click the image in the Program window.
You should see a bounding box around the image.
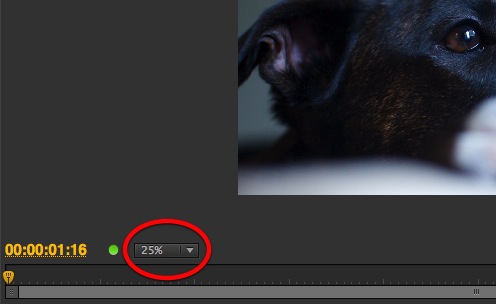
If you don’t, you’ll need to rescale the size of the preview, usually to 25 percent. Do this in the dropdown menu on the lower left side of the Program window.
Hover your cursor over any of the squares in the bounding box and it will change to an arrow. Hold down the left-click button on your mouse and drag to resize your image.
So long as the uniform scale button is selected in the Motion section of the Effects Control window, resizing will occur proportionally to the original. There will be no distortion.
Rotation
If you move your cursor about a centimeter outside any of the bounding box squares, it will change to perpendicular arrows. Hold down the left-click button on your mouse and drag to rotate your image.
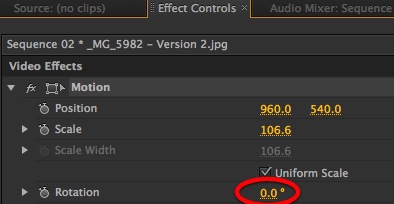
Of course, you can also use the Rotation parameter in the Motion section of the Effects Control window. It works just like Scale.
Anchor Point
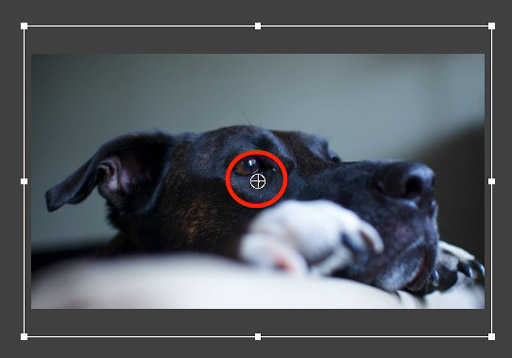
When you double-click on your image in the Program window, you’ll notice a cross-hair in the center of the image.
This is the anchor point. All resizing occurs from this point outward. Therefore, an anchor point at the center of an image means that when you resize it, the image will expand from the center out to all sides.
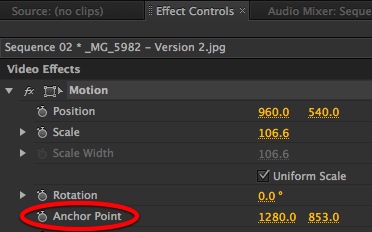
To change this behavior, you’ll need to change the anchor point. Do this in the Motion section of the Effects Control window.
Here I’ve moved the anchor point to the upper left since I’d like to resize from here outward.
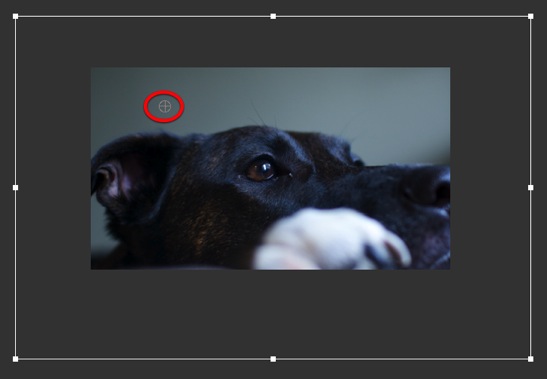
Next, drag the image so that the anchor point rests squarely in the upper-left corner.
Now, when I drag the bounding box, the image will move from this point outward.
To learn more about how our producers are using Adobe Premiere Pro see our other blog posts on the topic. Also, follow our producers’ twitter feed @PrProShortcuts for Premiere shortcuts.
To learn more about our production style, you can purchase a copy of our Post-production Workflow. Readers who purchase our current Final Cut Pro and Aperture workflow automatically receive the Premiere workflow when it is released.
MediaStorm offers several online and in-person training opportunities at mediastorm.com/train.
Have you made a recent switch in your editing software? Let us know about it in the comments below.


