
This article is part of a new series of posts with tips and tricks from our producers’ experience working with Adobe Production Pro after years of working in Final Cut Pro. To read more about why we made the switch, check out this post.
Today’s post was written by MediaStorm producer Eric Maierson.
Premiere Pro CC, Adobe’s followup to CS6, is stuffed with all kinds of great new features. One of the most useful additions is the ability to see through edits, a feature available in Final Cut Pro 7 but curiously absent from the previous Premiere Pro iteration.
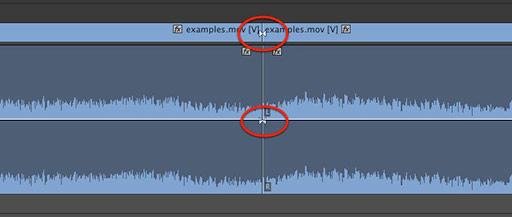
A through edit is a marker that indicates where you’ve made an edit but no frames have actually been omitted.
To turn on this functionality, from the Sequence menu select Show Through Edits.
Now, when you first make an edit, you’ll see the through edit icon. Adobe has conveniently used the same icon found in FCP 7.

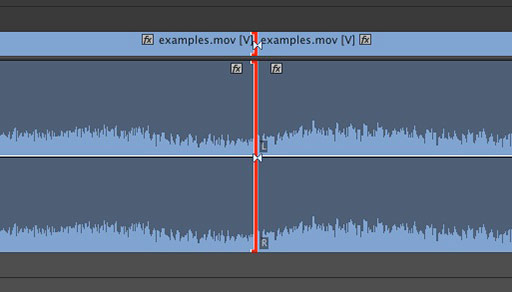
To rejoin an edit, simply select the edit point and press delete.
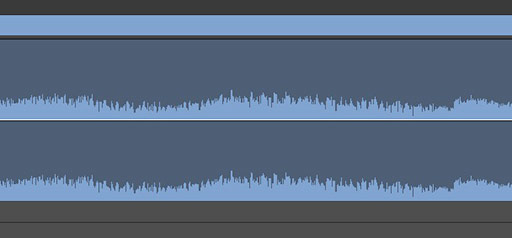
Your clip will be restored.
Note that Show Through Edits does not have a keyboard shortcut assigned by default. To learn how to do this see the previous post MediaStorm Guide to Keyboard Customization in Adobe Premiere Pro.
Premiere Pro CC will be available some time in June.
To learn more about how our producers are using Adobe Premiere Pro see our other blog posts on the topic. Also, follow our producers’ twitter feed @PrProShortcuts for Premiere shortcuts.
To learn more about our production style, you can purchase a copy of our Post-production Workflow. Readers who purchase our current Final Cut Pro and Aperture workflow automatically receive the Premiere workflow when it is released.
MediaStorm offers several online and in-person training opportunities at mediastorm.com/train.
Have you made a recent switch in your editing software? Let us know about it in the comments below.